How high-quality FIBCs are manufactured
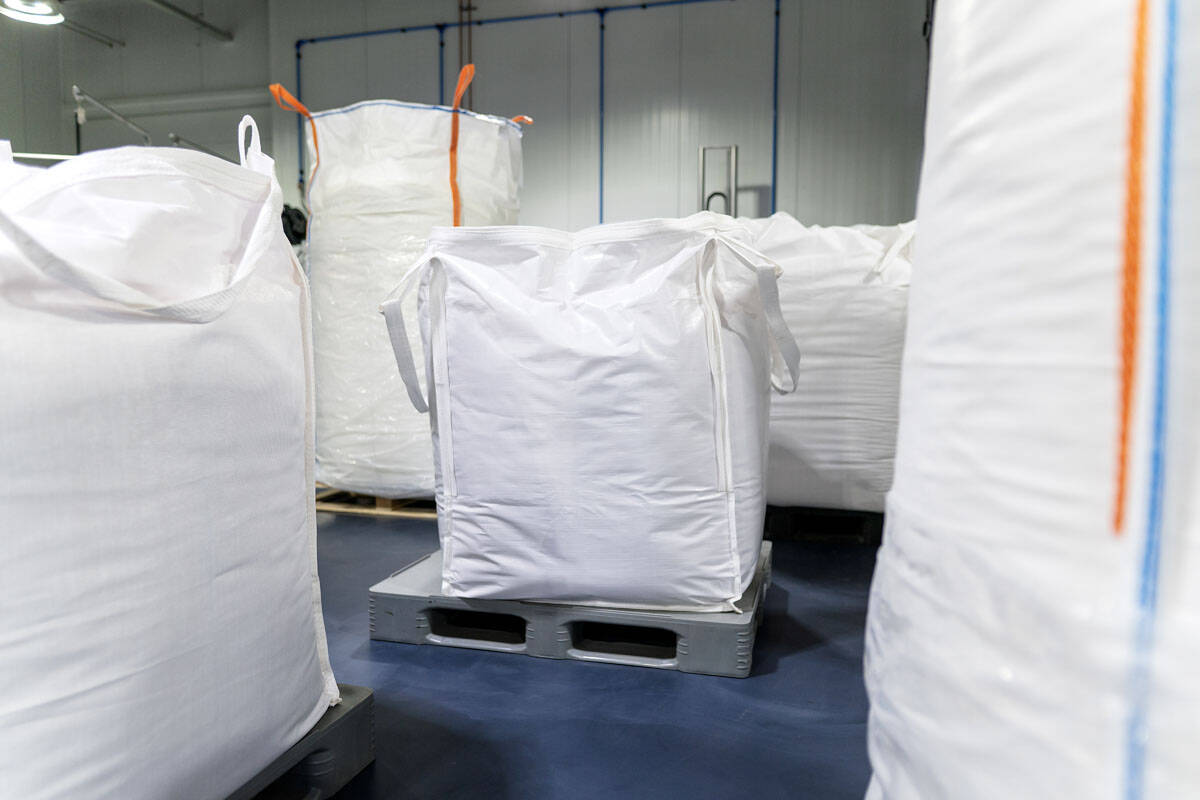
Six steps to create high quality big bags. This guarantees that all FIBCs are versatile, flexible and most of all: safe to use, in every environment.
FIBCs are known to carry all kinds of products—from heavy metals to delicate pharmaceutical products. This means that the bags have to be versatile, flexible and most of all: safe to use, in every environment. It all starts with a manufacturing process that is aimed at creating high-quality Bulk Bags, using only the best materials and safest techniques. In this article, we’ll walk you through the steps our manufacturing partners go through to create your FIBCs.
STEP 1: SELECTING AND PREPPING THE MATERIAL
First up is the selection of the appropriate material. This is where our manufacturing partners start determining the type of polypropylene they will use for the production of their Bulk Bags. They will also confirm the source of the polypropylene, to make sure they are getting the best quality.
Once the material has been selected, the next step in the manufacturing process is to get it ready for use. This involves an extrusion process, in which the raw material is forced through a die to form tapes of specific widths and deniers. This is how the manufacturer gets the Bulk Bags that have the desired physical characteristics and are also safe to use.
STEP 2: WEAVING
Weaving the yarn is the next step in the manufacturing process.
The weaves used for Bulk Bags are known as ’open-end’ weaves, which are crisscrossed to form a grid. This is how the manufacturer creates the grid-like structure needed for the bags to be flexible and safe to use in every environment.
The yarn is woven in such a way that the Bulk Bags are formed, with no air pockets and uniform thickness all over the fabric. All of this is done to ensure that the bags are as strong as possible.
STEP 3: MAKING SURE IT’S MOISTURE-PROOF
A crucial part of the process is making sure that the bag will be moisture-proof—you don’t want your products to be affected by moisture and dampness. The holes in the inner part of the liner are sealed with a special product, making sure nothing goes in or out at a later stage.
STEP 4: CUTTING THE RIGHT SIZE AND PATTERN
Once the material is ready to work with, the pattern of the bag is decided and cut out from it. We minimize waste by creating and cutting our bags and liners to the right size immediately, instead of working with a standard shape and making changes afterwards.
STEP 5: STITCHING IT ALL TOGETHER
The different components, including the loops, are all stitched together tightly.
STEP 6: TIME TO PUT IT TO THE TEST
Now, for the most important part of the process: testing the strength of the bag. It’s vital that it lives up to the desired safety standards and Safe Working Load.


